Posted on

How To Clean Gemstone Beads

Gemstone beads are some of the most beautiful and high-impact pieces you can use in bead-making. They add gorgeous natural colour and texture to any combination and, when looked after, provide a high-quality finished product that can be enjoyed for years to come. 
How to clean gemstone beads

Cleaning gemstone beads isn’t hard, and it’s the best way to keep them shining. There are, however, a few rules you’ll need to follow to get the best gleaming results and not risk damage. Let’s break them down.

Our tips for cleaning gemstone beads

  • Store your beads properly

They say the best defence is a good offence, so start your journey cleaning gemstone beads by maintaining their condition in the first place. Gemstones rarely respond well to direct sunlight, so store your beads in a clean, dry and cool place out of direct sunlight. This will stop them from prematurely fading, and keeping them in separate areas will prevent the beads from dulling or scratching from friction with other beads.

  • Know your types of gemstones

Not all gems are created equal — each type has very specific preferences for temperature, appropriate cleaning materials, hardness and more. For some gems like amber and amethyst, the safest cleaning method is with a soft brush and polishing cloth, as they’re very susceptible to chemicals and extreme temperatures. Likewise, emeralds should be kept away from hot water or steam cleaning. Tourmaline is also sensitive to heat but is relatively hardy when it comes to chemical cleaners. You should avoid soaking opals altogether, as prolonged exposure to water damages them.

When choosing your gemstone beads, make sure you buy them from a trusted source and always double-check best practices for cleaning gemstone beads of a certain type specifically.

  • Stay away from strong chemicals

They may seem as hard and solid as a stone, but gems can actually be quite fragile and can be easily tarnished by cleaning gemstone beads with strong chemicals. Any jewellery cleaners that contain ammonia are a no-go, especially for gemstones like pearl and amber, as they quickly erode at the surface. 

To be safe, avoid any strongly formulated cleaners and opt for mechanical (i.e. scrubbing) solutions over chemical ones. 

  • Use more elbow grease than product

Your safest bet for cleaning gemstone beads is to use a lukewarm solution with a few drops of dish detergent and let time and elbow grease do most of the work. If your gems can be soaked in water, leave them to soak for 30 minutes to loosen up any dirt or grime. Simply skip this step for gemstones that can’t rest in a solution. Follow with a very soft-bristled toothbrush with a little soapy water to gently scrub and buff away at the gemstone. Rinse under cool (but not freezing water) and dry completely with a polish cloth to reveal its lustre.

  • Wear your gemstones with care

Taking care of your gemstone jewellery pieces will go a long way to prolonging their life. Avoid swimming with them, spraying them with perfume and treating them delicately, and you’ll be rewarded with years of shine and enjoyment.

Ready to create your next gemstone masterpiece? At Beads N Crystals, we have the best range of beads for all your creative pursuits. Shop our high-quality beads and get inspired today!

Posted on

How To Bead Crochet

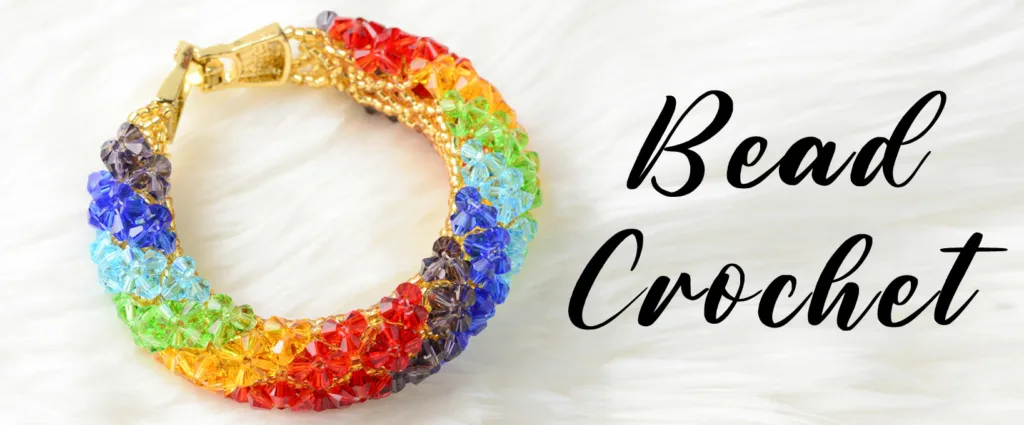
Crochet is a method of creating fabric by looping yarn or thread around itself using a crochet hook. Bead crochet is a type of needlework that incorporates beads into the fabric to make decorative and intricate patterns. Once you learn how to bead crochet, you can add a new skill to your crafting repertoire. Although bead crochet can be used to make a range of items, it is most commonly used to create jewellery, accessories, and even works of art — the possibilities are almost endless when it comes to the application of crochet fashion. Learning how to do bead stitch crochet is relatively simple, and with a little practice, you can create beautiful pieces that are perfect for gifts or personal use. To help you get started, we’ve created this handy guide on how to bead stitch crochet.

Create beautiful crochet fashion and learn how to bead crochet the easy way

“Crochet” comes from the French word “croche” or “cro” which means to hook.  In bead crochet, beads are added to the foundation row or inserted into the fabric as it is being created. Beaded crochet has a more sparkly and glamorous look compared to regular crocheting. When it comes to bead crocheting, it’s a versatile technique, relatively easy to learn and does not require a lot of expensive equipment. There are two main methods to use when learning how to bead crochet: stringing the beads onto the yarn before beginning to crochet or adding the beads as you go.
  • Stringing the beads onto the yarn before beginning to crochet is the quicker of the two methods, but keeping track of where you are in the pattern can be more difficult. Start by stringing the appropriate number of beads onto your yarn. If you are using dental floss or another thread type, use a needle to string the beads onto the thread. Once the beads are on the yarn, make a slipknot and place it on your crochet hook. Tighten the knot so it is secure but not so tight that it is difficult to work with.
  • Adding the beads as you go is slower, but it allows you to adjust the placement of the beads as you work. Begin crocheting as you normally would, incorporating the beads into your stitches. To add a bead, simply slide it up to the top of your work and complete the stitch as normal. You can experiment with different bead colours and patterns to create unique and beautiful pieces of jewellery or art. With a little practice, you can create stunning bead crochet designs.

Discover easy-to-use bead crochet sets at Beads N Crystals

There are many unique ways to play with bead croquet to create bespoke pieces of art and fashion that you can gift to your loved ones. At Beads N Crystals, we have everything you need to get started on your croqueting journey. From an assortment of breathtaking beads to sturdy needles and other croquet supplies, we’re your one-stop shop for all things craft — whether you’re a beginner or a passionate creator. Just learning how to bead croquet? Check out our beading books, which contain detailed step by step instructions, showing you how to use and combine beading and crochet techniques to create one-of-a-kind art and fashion pieces.
Posted on

How To Use Bead Loom

bead loom is a great way to create beautiful, intricate patterns with beads. Whether you’re new to beading or it’s your favourite hobby, this technique is a relatively simple process that can be easily learned and mastered.

Bead looms were initially used to express Native American decorative art forms. Since then, the fun and effortless technique of weaving has evolved to incorporate contemporary designs such as stylish bracelets, jewellery, home decor and a wider gamut of other accessories. Learning how to use a bead-weaving loom can elevate your crafting skills and transform your creations into stunning visual art pieces.

Spinners and Looms

Unleash your creativity with a beam loom

Beading with the conventional method of using a needle and thread is often tedious, especially if you have an intricate pattern you wish to reproduce. Bead looms make the beading so much easier, allowing room for creating a broader spectrum of patterns — from pretty florals and bold geometric lines to nautical and bohemian designs, the list is endless.

Love bracelets? Once you know how to use a bead loom, you can craft on-trend bracelets that can be stacked or layered with delicate and statement creations. For fashion lovers, you can even breathe new life into an old t-shirt by embellishing it with a new and exciting pattern. When it comes to crafting with a bead loom, the sky’s the limit!

How to use a bead loom

  • Step 1 — supplies

When learning how to use a bead weaving loom, the first step is to collect the supplies you will be using. You will need a stitch chart, beads, needles, thread, scissors, a ruler and a bead loom. Many seasoned crafters use seed beads to create detailed work — they are smaller than regular beads, making them easier to cover smaller areas.

  • Step 2 — setting up the loom

Setting up and wrapping your loom is an important aspect of learning how to use a bead loom. Once you’ve chosen the width of your design, you can settle on the number of wrap threads your craft project will require. For instance, if you’re creating a bracelet, having seven to eight wrap threads is a good starting point. Knot the threads at the ends to create loops. Using a crochet hook, hook the loops into the wooden barrels over the loom, and pull the threads taut to create the desired tension. Thread your needle, and you’re ready to start the fun process of putting the beads onto the threads.

  • Step 3 — beading

The first step is a little tricky if you’ve never placed beads on a thread. But with a little patience, you can easily master this step. The trick is to start slowly and place the beads on correctly. You can use waft and weft techniques to string the beads into place. Waft is when the needle or pattern moves horizontally, and weft is the term used to describe the vertical movement of the beads. Once the beads are in place, use the needle to secure the thread at the end of the row. To continue the pattern, lift the previous row of beads and thread the next row under them. When you reach the end of the project, secure the thread and cut off any excess. Your bead loom project is now complete!

Craft eye-catching patterns with the best bead loom kits from Beads N Crystals

Bead looms are a great way to create personalised jewellery and accessories. Unlike other bead weaving techniques, loom work creates a neat and tidy fabric that you can use for a variety of purposes. Best of all, it’s not as difficult as it looks!

Ready to get started? Beads N Crystals is the go-to destination for all your crafting needs, offering high-quality and affordable beading supplies. Whether you love using a beam loom as a hobby or you’re a professional crafter, our expansive collection has everything you need to bring your vision to life. Browse our handy collection of adhesives, beautiful beads and nifty bead looming kits today!

Posted on

Beading Techniques (Beginner Friendly)

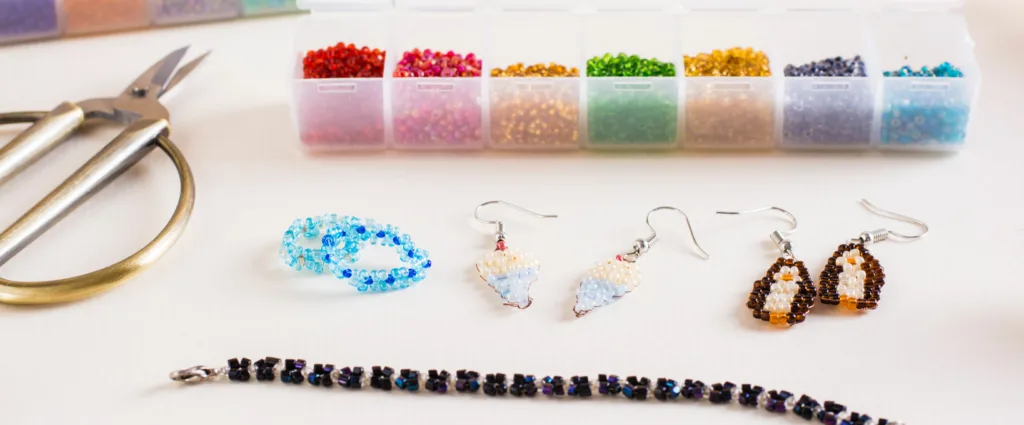
While there are only a handful of basic bead stitches, there are many ways to combine them to create different textures and looks. If you’re searching for some new techniques to try out with your next project, check out the following list of beading techniques.

Basic beading techniques

Basic beading techniques utilise basic stitches. It’s one of the most popular ways to create jewellery and belts using beads. Spiral stitches are among the most basic and require skills such as threading needles, joining threads, and finishing threads. Below are some easy beading techniques that you can experiment with:

  • Square stitch

    The square stitch (Comanche stitch) is a beading technique that makes a beautiful, textured pattern. As you might have guessed from the name, it produces a square shape with diagonal lines running through it. These stitches look great in just about any colourway and can be used as an accent on other projects. It’s also one of the most popular beading techniques, so if you want to get started with this style without being overwhelmed by tons of patterns and tutorials, this might be your best bet!

    The square stitch is easy to master if you’re familiar with basic beading techniques. Once you learn how to make it, there are several ways to incorporate it into your designs.

  • Flat spiral

    The flat spiral (also called a string of pearls) is a basic hand-beading technique used to make jewellery and other items. Because it’s easy and versatile, it’s also a great stitch for beginners who want to create something from beads. 

    For the flat spiral to work, you’ll need to choose a bead size that will fit into your selected stitch. If you’re new at this, try using 6/0 or 8/0 beads. Beads are available in all sizes and shapes these days — you’ll find them wherever you buy craft supplies or online. If you’re feeling adventurous, try working with coloured glass, Czech beads or polymer clay beads.

  • Peyote stitch

    Peyote stitch is one of the types of seed bead stitches. It’s also known as Gourd Stitch and can be done using either square or round beads. It’s easy to master, but like any other hand-beading technique, you can do it in many different ways! If you’re interested in learning more about this technique, free tutorials online will teach you everything you need to know. 

  • Herringbone stitch

    A herringbone stitch (also called Ndebele or ladder) is a sewing stitch that creates a decorative line on the fabric. It can be used in beadwork, but it’s also just a fun thing to do! Start by stitching up from the bottom of your beadwork. Make sure you leave about an inch of space between where you will start and stop. Then bring your needle back down through the same hole you started, creating a loop with your thread going in one direction (you can do this with one or two needles). Make sure to go right above where you entered the hole, so there isn’t any slack when it comes time for pulling tight. If there is any slackness, tighten up until everything looks neat again.

  • Right-angle weave and variations

    Right-angle weave is a variation of a square stitch. In a right-angle weave, you take one row of stitches in each direction before switching directions. For example, if you were doing left and right rows (as with square stitch), the first row would be all left stitches, then all right stitches, and so on!

  • Netting

    Netting (also called hex netting) is a hand-beading technique in which you weave a thread through a series of beads. It’s commonly called hex netting because the beadwork looks like a hexagon. Netting can be done with any bead, but it tends to be more popular with larger beads as they’re easier to fit onto the thread.

    If you’re trying your hand at the netting technique, it will be helpful to have an up-close view of what you’re doing — otherwise, try looking at your project from above or below it. Ensure all the beads are flat and spaced out evenly before beginning this process, or else your project may not turn out as you had hoped! You’ll need enough space so there’s room between each bead for one strand of wire or thread (the number varies depending on how many strands per row). Thread one end through all three loops and bring it back up through itself; then repeat as many times as necessary until there’s no more room for additional strands.

  • Ladder stitch

    Ladder stitch, or tubular ladder, is a basic beading technique that’s easy to learn but can be used in many different ways. You can use it to make necklaces, earrings, and even two-piece bracelet sets. While the pattern looks complicated at first glance, it doesn’t take long to master the process once you break down the steps into manageable chunks.

  • Bead embroidery on fabric or leather

    Bead embroidery is a form of beadwork that uses a needle and thread to create designs on fabric. It’s great for beginners because you don’t need special materials or equipment; it only takes about 20 minutes to learn how to perfect this beading technique.

  • Twisted herringbone

    The twisted herringbone stitch (or right-angle weave on the diagonal) is a variation on the basic herringbone stitch. It is a bit more challenging to master, but it creates a more innovative pattern and gives your beadwork some texture. To make this stitch, you’re going to weave over two beads, under one bead, and then over two more beads. This will create an “X” shape in your piece of work.

Get your supplies today to start practising different types of seed bead stitches

All in all, there are many different ways to work with beads and create beautiful art pieces. If you’re a beginner, choosing the best method for you can be overwhelming. However, we hope this article has helped by giving an overview of the different methods used for various types of seed bead stitches

Start your new hobby by buying your beads and other jewellery-making supplies from Beads N Crystals today. We have everything you need, from beads to tools and so much more! Browse our online store to find what you’ll need to complete your project today.

Posted on

How To Bead For Beginners 101

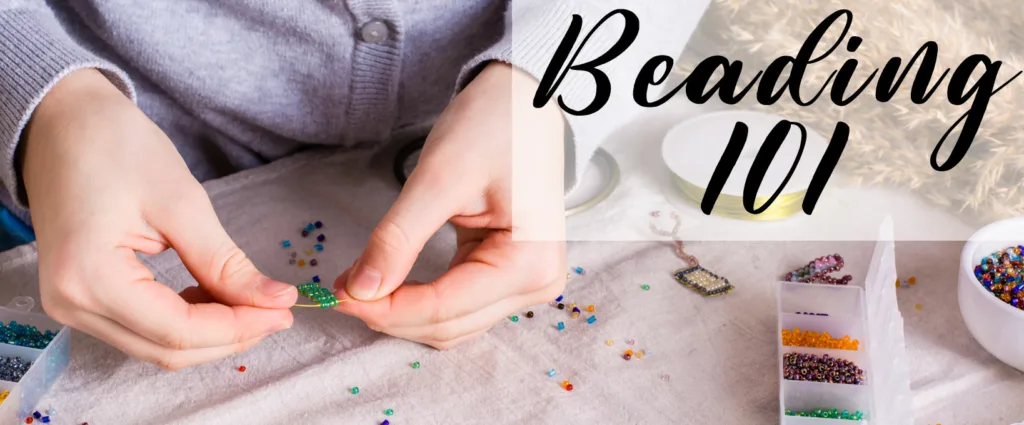
If you’ve never tried your hand at beading, you may be feeling a little lost when faced with mountains of beads, pliers, wires, string, and rings. The great news is that learning how to bead for beginners is actually super simple and can be really rewarding from your first project!

Start out with beading 101

Beading as a craft can become incredibly complex and ornate, with some experienced beaders even creating elaborate 3D shapes. Fortunately, beading is also one of the more forgiving crafts to start out with — at the end of the day, you’re just threading beads onto some kind of material to make a continuous string. This string can then be closed with a loop ring, a knot, or a number of different techniques to become earrings, a key chain, a necklace — you name it! Once you have a few beading 101 skills under your belt, you’d be surprised at how quickly a simple string of beads becomes a much more complicated and impressive project.

So, are you ready to learn how to bead for beginners? Let’s get started!

Everything you’ll need for bead making for beginners

First thing’s first, it’s important that before you start out any project, you have the tools for the job. There are more tools you can use to get a professional finish, but here we’re focusing on the basics essential for any simple beading craft.

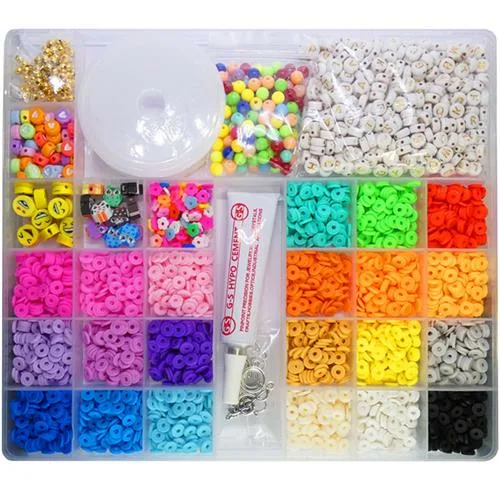
  • Beads — OK, this might sound obvious, but there are a few things to consider when choosing the beads for your project. Size is an important element to take into account. Big beads require fewer to fill in a space or make a necklace, but they can also be heavier and may be less wearable as a result. Smaller beads will inevitably be cheaper, but they can also be more fiddly to thread, and require many more individual items to complete the same length.
    Beginner beaders often underestimate how many beads they’ll need to finish a project. To avoid this, do some simple maths before you start. Measure the length of the jewellery you want to create, then divide that length by the width of your chosen individual beads. You only need a rough estimate for this, but you may be surprised at how many more beads are required to get the job done.
  • String or wire — A nylon string, fishing or metal wire will be needed to actually thread your beads on.
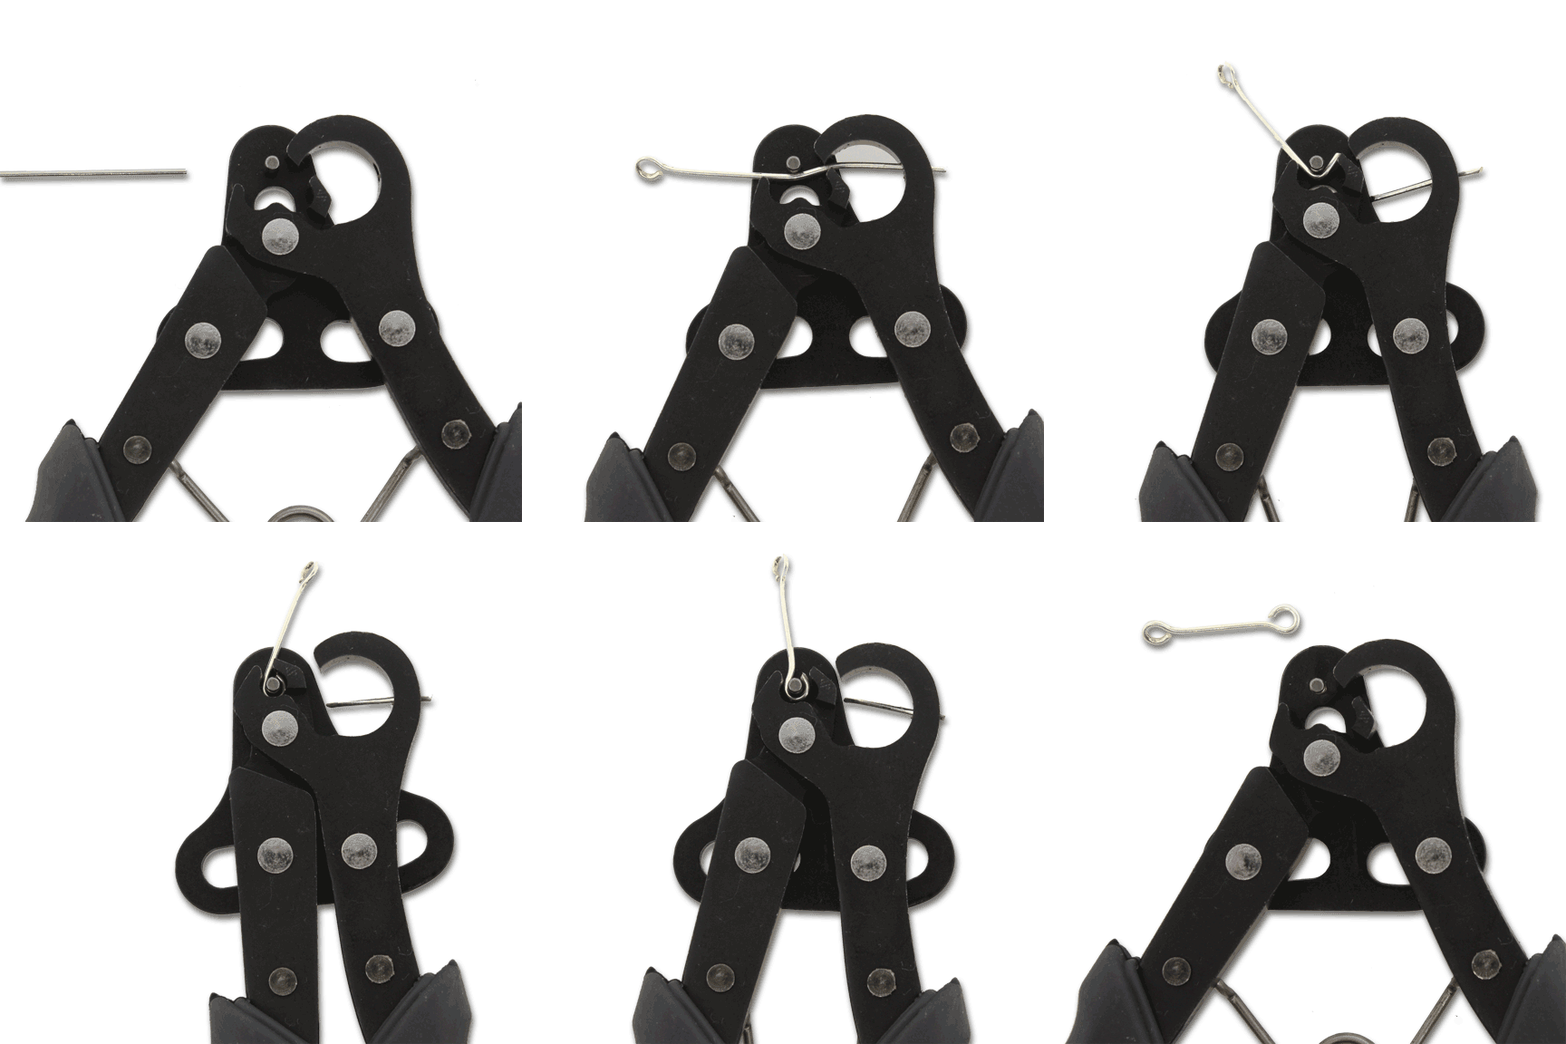
  • Jewellery pliers — Jewellery pliers will be your best friend in the beading process, allowing you to manipulate closures and fastenings, hold things in position and have better control over small and finicky designs. You can choose from round nose, chain nose and flat nose pliers, so it might be worth asking your local bead shop for their advice on which pliers will suit your chosen beads and fastenings.
  • Needles — If you’ve opted for a very thin wire or floppy string, you’ll probably find a needle is required to give you enough control and rigidity to get the beads onto their threading. Long beading needles also allow you to lay out portions of your design and make sure they’re right before you slide them onto your thread for the final design.
  • Wire cutters or scissors — Your stringing material will dictate which one of these you choose, but sharp cutting implements that are suitable for your chosen material will save your nice fabric scissors from getting wrecked — all while giving you clean cuts for a more professional finish.
  • Jewellery findings — This is a somewhat obscure name that means the fastenings, crimp beads or other coverings you will use to finish your piece and allow it to be taken on and off. Take into account your stringing materials when choosing these, and make sure that you select an appropriate fastening that can support the weight of your design.
  • Storage — Finally, invest in proper storage for your beads and tools! A see-through hard case is a great option because it allows you to easily see what you have in your stash, while the rigid case will keep things from moving around. A disorganised craft station is a sure-fire way to feel overwhelmed and make mistakes in your project, so it’s well worth your while getting one of these.

Beading 101 — your very first project

Once you have all of your materials, you’re ready to start your very first project! A necklace or a bracelet is a great option for this because it only requires one thread and can be easily closed with a fastening of your choice. Plan out your design beforehand, so you have a rough idea of the materials needed, but don’t be afraid to experiment and go with the flow — sometimes, the beads will dictate their own design!

Lay out your materials in a clear and uncluttered workspace, and remember to enjoy the process, frustrations and all. If you do get stuck, a great tip is to research the technique or problem and watch a tutorial video — often, seeing something in front of your eyes is easier than reading about it. Before you know it, you’ll be beading with the best of them, as your confidence and skills grow.

Beads N Crystals — your go-to destination for beginner beading

No matter how large or small the project you’re attempting, at Beads N Crystals, you’ll find a huge range of tools and supplies to make it a success. We have a vibrant community of keen amateur and professional beaders, so you can stay in touch with the latest beading news and learn new techniques to improve your skills. If you’re ready to embark on your beading 101 journey, check out our affordable range of beads, gemstones and seed beads today, and start creating!

Posted on

Beads N Crystals Gift Vouchers

Beads N Crystals Gift Cards

Buy and Gift Beads N Crystals Gift Cards

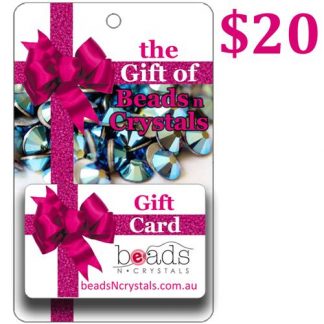
Beads N Crystals offers Gift Cards in almost any value. They make a perfect gift for anyone interested in beading and many other crafts. Give the gift of choice and let them select from over 15,000 beads, crystals, tools and lots more. They are supplied as a paper-based biodegradable physical card which can be spent in-store or online.

  • Valid for 3 Years
  • Choose Your Value
  • Select from values of $20, $30, $50 or $100 to buy online
  • Physical Gift Card Posted to you or the recipient for free
  • Choose any value from $10 up to $500 (contact or visit us)

Gift Vouchers are valid for three years from the date of purchase and can be spent as you wish on any goods in our store or on this website. The voucher can be spent in part or in full, and multiple vouchers can be used on the same purchase. Any unspent portion will remain on the voucher and will be valid until for original 3-year expiry period.

We collect the name and contact details of the purchaser and/or recipient. This will allow us to cancel and re-issue a lost or stolen gift card. Please note that any lost or stolen gift card redeemed by a third party before we are advised and able to cancel the card is then not able to be credited or replaced.

Gift vouchers can’t be used to purchase gift vouchers, and any purchases made on a gift card that are returned will be refunded onto a new gift voucher. Our gift vouchers can’t be refunded or converted to cash after purchase. The voucher itself is GST exempt and a full itemised tax invoice will apply and be issued at the time the voucher is spent on goods.

Bead Lover Loyalty Points & Gift Vouchers

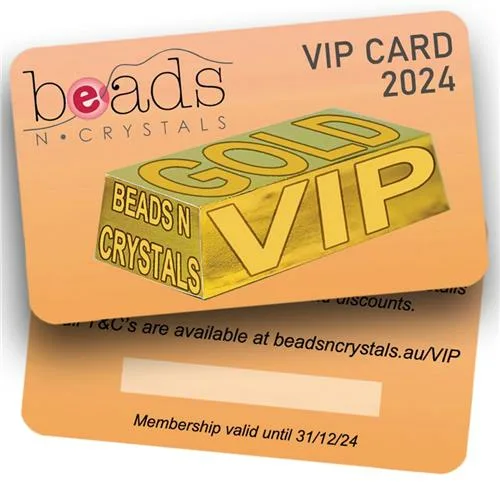
Bead Lover and VIP members earn Loyalty Points on many purchases. The points will automatically convert to a $10 gift voucher for every 250 points earned. These vouchers are valid for use instantly and for a period of 12 months from date of issue. You’re welcome to collect up several vouchers and spend them all at once. These vouchers can only be redeemed by the customer to whom it was issued. Lost your voucher? No problem, we can look them up for you!

Who can earn Points and receive $10 Vouchers?

  • Any customers making an online retail purchase from this website (you’ll be enrolled automatically into the free program)
  • Retail Customers in-store who opt to join our Free Bead Lover membership program
  • Retail Customers in-store who opt to join our paid VIP member program

Please note that wholesale members are not eligible to earn points. Customers who refuse to opt into our membership programs, refuse to provide the necessary information to become a member, or decide to opt out at any point will not receive or retain points. You may contact us at any time to make a change to your membership or to have yourself removed from the program if you wish.

How are Points Accumulated?

1 Point is earned per $1 of an item’s price on most products.

  • A $1 item earns 1 point (Buying 50 receives 50 points total)
  • An item at $10.50 earns 10 points (Buying 2 earns 20 points total)
  • An item at $0.50 earns no points regardless of the number purchased.
  • No points are earned on Swarovski, Preciosa, Sculpey, Jacquard, Clearance, Sale and Special lines.
  • VIP members receive full points on monthly discount sales (A $50 strand of pearls earns 50 points even when it is 50% Off and sold for $25)
  • Points expire 12 months from accumulation if not converted to vouchers

How are vouchers issued?

As soon as 250 points are accumulated, a $10 voucher will automatically be issued. If a purchase earns enough points for multiple vouchers, all will print. For example, if you have a previous total of 245 points and make a purchase earning another 265 points, your balance will be 510 points. At that time, 500 points will be deducted, and two $10 vouchers issued. The remaining 10 points will carry forward to your future purchases.

How to Spend Bead Lover $10 Vouchers Online:

  • Check out your order and select the Direct Bank Deposit payment option
  • Make a note of the Gift Voucher number (barcode number). If you don’t have that, please just tell us you have a voucher in the order notes.
  • We’ll apply your voucher(s) and contact you for any balance payment.

How to Spend Bead Lover $10 Vouchers In-Store:

  • Remember to hand us the voucher (or tell us you have one in the system) before making payment for your purchase!

Once a payment is made, we’re not able to apply a voucher, so it’s important to ensure you do not make a payment for your order until after we have applied the voucher.

Posted on

MORE PARKING!

Almost Done!

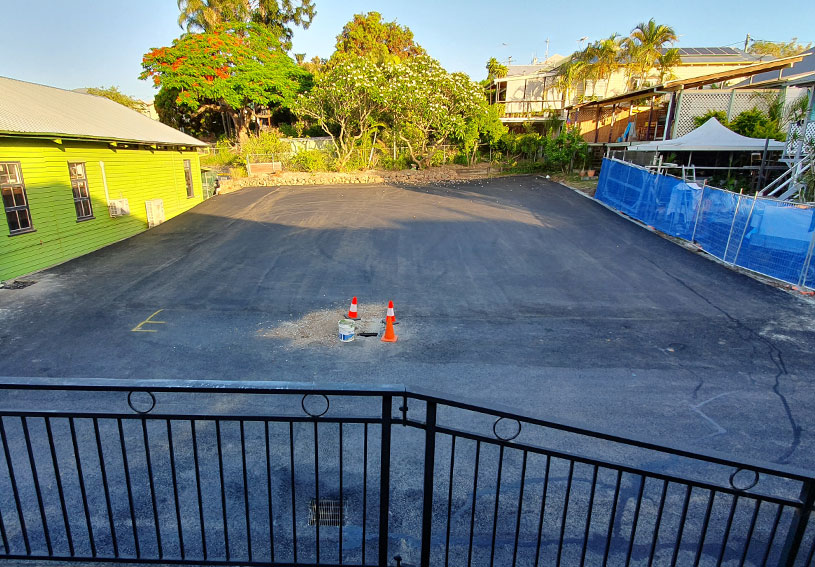
The bitumen is down and the guys have been frantically working to finish our HUGE new rear carpark! We won’t know until the line-markers finish work just how many spaces there will be, but we’re thinking 20 at least!

Please note this Friday and Saturday there will be no access to the new carpark and no drive-through access. Please consider entering via the Juliette St rear entry. Limited parking will be available in the old MEX carpark. We will also have 4 spaces available across the front on Ipswich Rd.

We will be able to park in the new carpark and drive through access will be reopened from Monday December 14th.

Posted on

End of an Era: SWAROVSKI SAYS GOODBYE

We have been notified by Swarovski that they are exiting the wholesale components market. Swarovski are closing down their Swarovski Professional division which was responsible for the supply of all Swarovski lines we had access to. This means they have discontinued the supply of all products and this is being rolled out globally. The entire Swarovski catalogue of beads, pearls, flat backs, pendants, rivoli’s, bicones, rondelles, drops, chandelier pieces and sew on stones have now been discontinued.

This decision is on the back of extreme impact caused by COVID-19 leading to a large number of job losses at Swarovski’s head office & manufacturing facility in Wattens, Austria, which have been well documented in global news. We had suspected a significant change for some time now, but the speed at which this has occurred has taken us (and many opposing members of the Swarovski family) by complete surprise.

Their plans are “to refocus and re-position Swarovski in the attainable luxury segment”. Unfortunately they believe having large volumes of loose Swarovski components in the marketplace is not in their strategic plans for future of their brand and is impacting their high-end finished goods market.

SWAROVSKI IS NOT CLOSING DOWNThey are restructuring and refocusing their business.
In doing so they will no longer provide loose components for resale as loose components.

According to news articles, Swarovski’s new CEO, Robert Buchbauer, believes less is more and that Swarovski have lost their focus by trying to be everything to everybody.

Effective immediately, we (along with all dealers in loose Swarovski components), have been cut off from ordering any more products.

They will effectively discontinue from the global retail and wholesale markets the entire catalogue of loose components including beads, pendants, flat backs, pointy-backs, rivoli’s, sew-on’s, fancy stones, pearls, chandelier components, rondelles, buttons, crystal mesh, cupchains and findings.

Over the years we have worked hard to curate a wide and concise collection of 2,500 the most popular and in-demand lines from Swarovski including a rolling range of newly released and special edition pieces.

We’re working on plans to replace the core lines with similar products from alternative brands which will begin rolling out from early 2021. Unfortunately no other company can offer the range of products, colours, effects and sizes, or speed of delivery that Swarovski have consistently provided for decades.

We’re giving you this update so you have the opportunity to stock up on any Swarovski products you may need for your business or unfinished projects before we sell out for good. 

Although we are very well stocked and will probably be selling Swarovski crystals for quite some time, there are many popular lines we sell through almost weekly. Some lines are already sold out.

In the last several weeks since we initially heard of the pending announcement, we have ordered a large volume of stock that we regularly sell through, and lots of new exciting products too. We hope this is enough to carry us into early to mid 2021.

If this news is going to impact your business or planned projects, please check our stock and order what you need with priority. Alternatively email us with the products you need most (with the quantities) and we’ll factor this into our lines to source from alternative brands.

We really wish this wasn’t happening and we’re as shocked as you are at the news. Although this will be the end of an era, it will also be the beginning of a new one we’re yet to discover!

I thank you for your continued support and assure you this will not impact our ability to provide you a complete and concise range of quality products.

Shop the remaining Swarovski crystal products while supplies last.

From our family to yours, we wish you all the best and we hope to see you soon. Stay safe!

Posted on

New Website

Exciting News: Unveiling Our New Website for a Seamless Bead Shopping Experience!

G’day, bead enthusiasts! We’re thrilled to announce the grand reveal of our brand-new website, designed with you in mind. At Beads N Crystals, we understand the importance of a smooth and enjoyable shopping experience, and our revamped and ever-evolving online space is geared towards making your bead-hunting journey more delightful than ever before.

What’s New?

Intuitive Navigation: Say goodbye to the struggle of finding the perfect beads. Our new website boasts an intuitive navigation system, making it a breeze to locate exactly what you’re looking for. Whether you’re a seasoned beader or a newbie, you’ll find our website user-friendly and efficient.

Mobile-Friendly Design: We know you’re on the go, and our mobile-friendly design ensures that you can browse, shop, and explore our bead collection from the palm of your hand. Embrace the flexibility of shopping whenever and wherever inspiration strikes.

Why the Change?

We’re committed to providing the best possible shopping experience for our valued customers. The decision to revamp our website stems from a desire to offer a seamless, enjoyable, and stress-free journey as you embark on your bead-crafting adventures. Your feedback has been invaluable, and we’ve listened closely to your needs to create a platform that aligns with the Beads N Crystals commitment to quality and excellence.

Explore, Shop, Create!

So, what are you waiting for? Dive into our new website, explore the extensive range of beads, crystals, and accessories, and let your creativity flourish. We’re excited to be part of your crafting journey and can’t wait to see the amazing creations you’ll bring to life with Beads N Crystals.

Happy beading!