Hey there, fellow bead wizards! It’s your crafty conjurer, Travis, at Beads N Crystals. Today, I’m letting you in on some magical secrets to enhance your beading journey. Brace yourselves for 12 ingenious tool hacks that will have you beading with the finesse of a true wizard!

1. Pliers with Extra Grip:
Nylon pliers are great for keeping your wire and metal components scratch-free, but it’s not always practical to buy new tools to complete a single task. Add a touch of cushioning to your pliers by wrapping the jaws with a small piece of rubber, painters tape or foam. It not only provides extra grip but also protects delicate wires and beads from scratches.
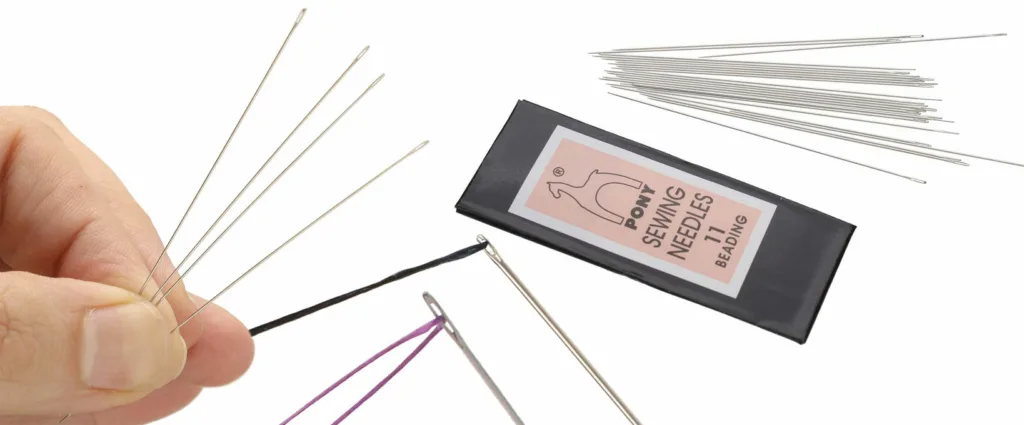
2. Needle Sharpness Revival:
When your beading needles start feeling a bit dull, revive their sharpness by gently rubbing them against fine sandpaper. Say goodbye to snagging and hello to smoother beading!
3. Store your Needles for Safety and Simplicity
There are so many different types of needles. Do you find that after a project your needles all migrate to the one place and it’s next to impossible to distinguish which is which? Simple fix: use your empty seed bead tubes to sort and store your needles! Peel off the label and use a Sharpie to write the needle type and size on each tube. A simple rubber band to keep the tubes together, and your needle woes are sorted!
Side note: if you have more empty tubes than needles, don’t throw them out! We offer a tube credit scheme as part of our commitment to Crafting Sustainability!
4. Anti-Slip Pliers Grip:
If you’ve got old tools with split or missing handle grips, but they have a little life left in them, try this! Wrap the handles with rubber bands or heat-shrink tubing for a comfortable and anti-slip grip. Your hands will thank you during those extended crafting sessions.
5. Colour Code your Tools:
Grab an assortment pack of coloured electrical insulation tapes. You (or someone you know) will probably have something laying around from that time you tried to DIY some home electrical repairs. Highly NOT recommended! Don’t you remember Dumb Ways to Die? Only the best commercial ever made! Anyway, wrap a little tape around the handles of your tools to colour code them. It makes grabbing side cutters while avoiding needle nose pliers much easier! Simple but effective!
6. Secure Thread Burner Caps:
Prevent accidental burns by securing the safety cap of your thread burner or thread zapper with a small binder clip. Safety first, bead second! Well, I originally wrote “bead first, safety second”, but our lawyer suggested rewording it… Buzzkill much?
7. Magnetic Mini Storage Magic:
Attach a small magnet to the inside of your mini storage containers. It becomes a magnetic haven for your needles and tiny metal findings, ensuring they stay put.
Bonus tip: Use a magnet to ensure there are no metal fragments in the wrong places in your beads or tool kits.
8. Measuring Tape Bead Counter
Get a fine-tip Sharpie and a measuring tape. Line up a row of ten 4mm beads and mark it on the measuring tape. Do this for the lengths of the sizes you use most to make counting and estimating beads for a project super easy. Do the same with markings for the lengths of your favoutite bracelet sizes so you’ll always thread the right number of beads every time.
9. DIY Sticky Bead Mat:
Us seed beaders love a good sticky bead mat, don’t we! They keep those little Delica’s and size 15’s in check with their voodoo-grade sticky surface. But what do you do when you awaken at 3am and dive into seed beads like a maniac if there’s no sticky bead mat in sight? Simple, stick a piece of double-sided tape to your desk or bead mat, or mouse pad if you’re really having a bad morning! Say goodbye to runaway beads and hello to hassle-free beading. Even if you can’t keep your eyes open!
10. Candle Wax Thread Conditioner
Thread Heaven is a thing of the past. There are substitutes, like Bees Wax and Thread Magic, but again, at 3am after being awoken from a dream of beading, as if I have a chance of finding my Thread Magic! Simple fix, Nanna’s favourite vintage candle! No! That’s not right! The cheap candle you couldn’t put back at Kmart because it smelled like chocolate crackles! Run your thread across the candle wax to condition and prevent knotting and tangles. It works pretty well, not perfect but definitely not terrible!
11. Easy Needle Threading:
Again, you could buy a needle threader to make threading a breeze, but seriously. I’ve bought a dozen of them and I still can’t find one when I need it! Introducing Dental Floss! It’s flat, slippery, fairly rigid and has a minty aroma! What more could you need? It threads easily through a needle, then form a loop and pull your thread through. It’s not as good as a needle threader, but still much more effective than swearing at the needle!
12. Easy Beading Thread Cutter
Side cutters are great for wire and tiger-tail, but they are no match for the mighty Fireline and NYMO. How can that be? Try it for yourself! Needleworkers threads are treated with Harry Potter’s magic making them invincible to anything other than a sharp thread cutter.
Jump back to step 11, where we just spend endless hours sliding dental floss through various needles to compare how much minty aroma stuck to the needle. The floss box is empty now right? Look at that! A thread cutter, and… it CUTS Fireline! AND NYMO!! “Finite Incantatem!” (waves plastic HP wand I’m not ashamed to have on my craft table.)
There you have it, bead wizards – 12 crafty tool hacks to make your beading game a little more fun. Try them out and watch as your crafting experience transforms into a magical journey of creativity and ease. Happy beading, and may your tools be forever in your favour!
Oh, one last final tip. There isn’t always a hack substitute for every beading and crafting tool. But luckily, you’ve found a really good bead shop with every tool you can imagine. Check them out, they’re all online!
Get your Bead-Fix and Chill!
Travis out

- Bead Bails Explained: Types, Uses & How to Choose the Right Bail for Your Pendant - February 23, 2026
- All you need to know about Turquoise - April 26, 2025
- Everything You Need to Know About Copper Wire: From Tarnish-Resistant to Bare Copper - March 14, 2025