Gimp French Wire
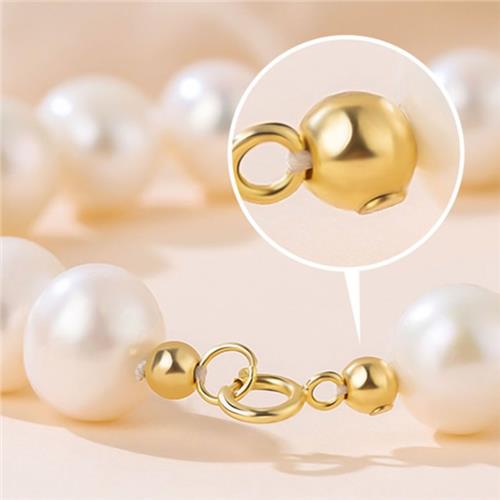
Gimp or French Wire is a coiled wire used for the ending of Pearls knotted on Silk. It’s a versatile and essential component in bead stringing projects, acting as a protective barrier, preventing wear and tear on delicate beading threads at the clasp. It adds durability and a polished and professional touch to the finished jewellery designs.
Showing all 13 results
-
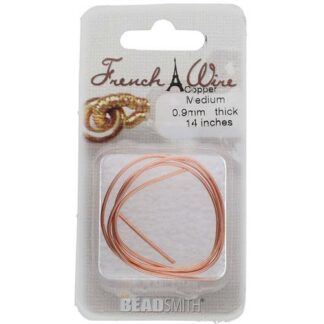
French Wire / Gimp Copper 0.9mm Medium 14″
$7.9012 in stock
-
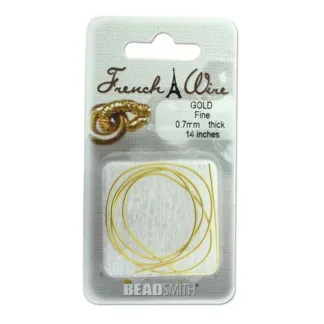
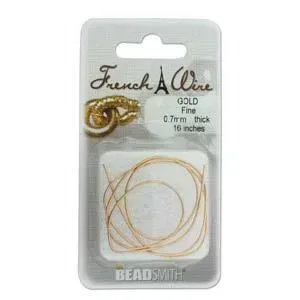
French Wire / Gimp Gold 0.7mm Fine 14″
$7.9028 in stock
-
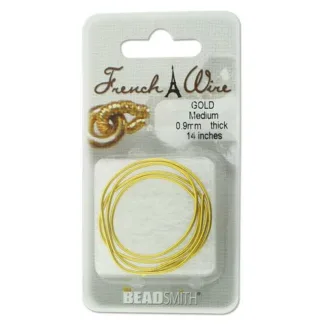
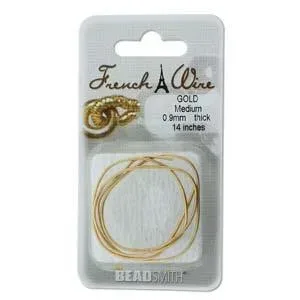
French Wire / Gimp Gold 0.9mm Medium 14″
$7.9024 in stock
-
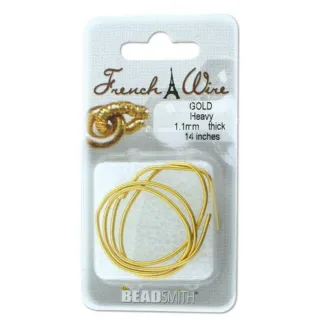
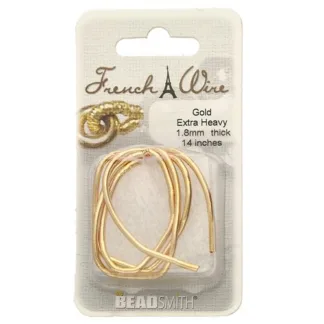
French Wire / Gimp Gold 1.1mm Heavy 14″
$7.9010 in stock
-
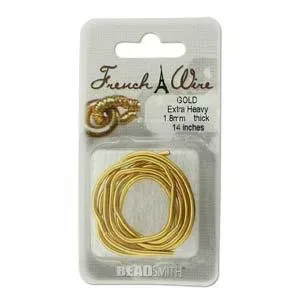
French Wire / Gimp Gold 1.8mm Extra Heavy 14″
$7.904 in stock
-
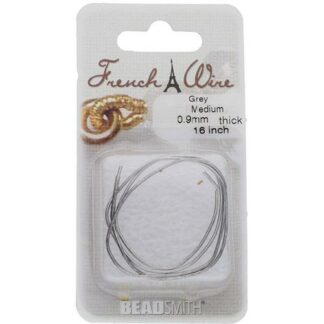
French Wire / Gimp Grey 0.9mm Medium 14″
$7.905 in stock
-
French Wire / Gimp New Gold 0.7mm Fine 14″
$7.9026 in stock
-
French Wire / Gimp New Gold 0.9mm Medium 14″
$7.9025 in stock
-
French Wire / Gimp New Gold 1.8mm Extra Heavy 14″
$7.906 in stock
-
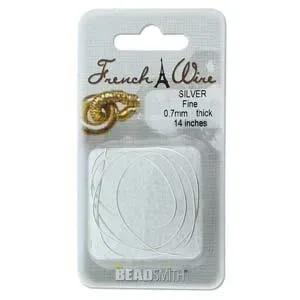
French Wire / Gimp Silver 0.7mm Fine 14″
$7.9020 in stock
-
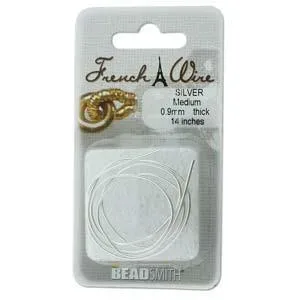
French Wire / Gimp Silver 0.9mm Medium 14″
$7.9016 in stock
-
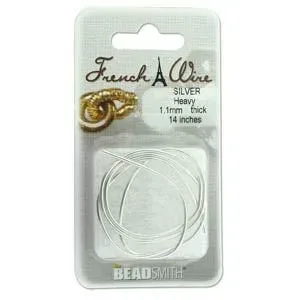
French Wire / Gimp Silver 1.1mm Heavy 14″
$7.9015 in stock
-
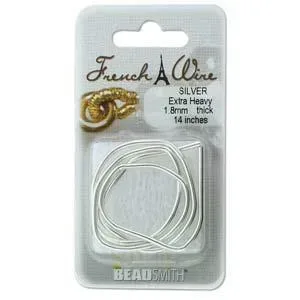
French Wire / Gimp Silver 1.8mm Extra Heavy 14″
$7.9026 in stock
French wire, also known as French coil or Gimp, is a essential component of traditionally knotted pearl necklaces and bracelets. Its hollow, tubular design serves to protect and reinforce delicate beading threads such as silk, providing added strength and durability to jewellery pieces. With a variety of sizes and colours available, French wire not only offers functional benefits but also adds a polished and professional touch to the overall design.
Gimp vs French Wire
In beading, gimp and French wire are the same thing. In the past, Australia and several British nations have called this wire Gimp, while much of Europe and America referred to it as French Wire. The products we stock are labelled as French Wire, so that’s the name we tend to use now. In a way, it’s unfortunate that gimp isn’t used in the floristry industry. Because then it would be known as Florist Gimp.
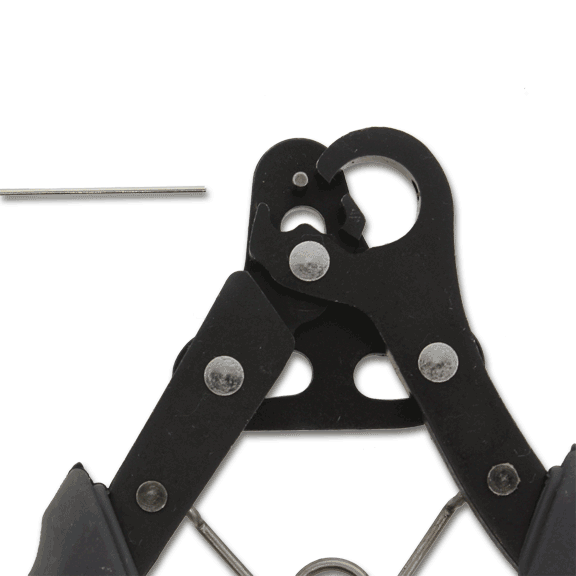
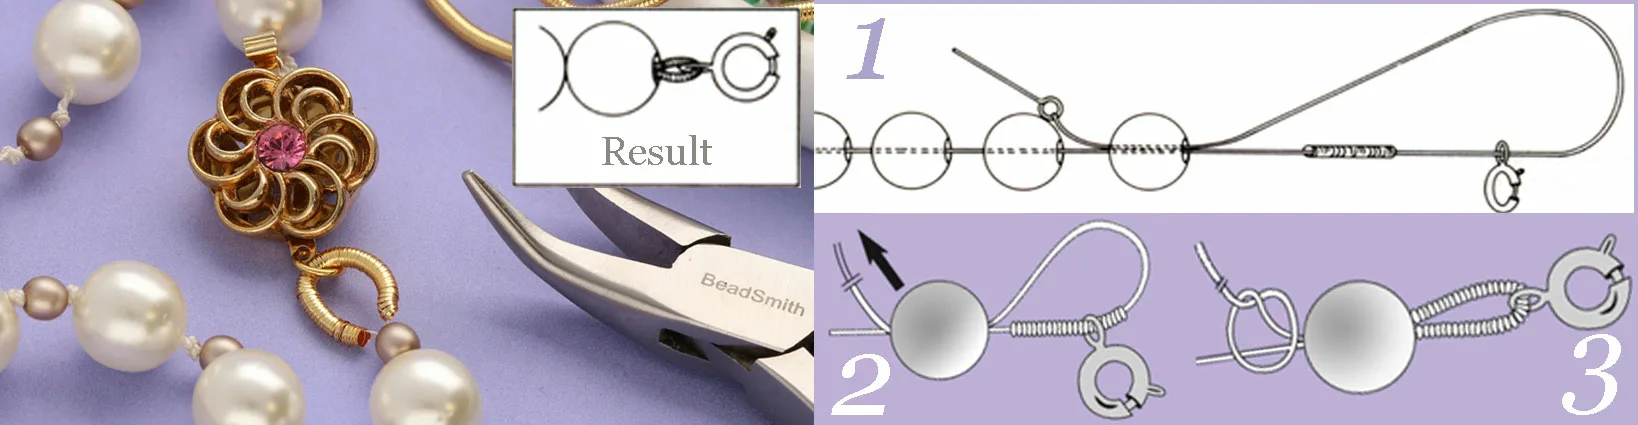
How to string pearls with French wire or Gimp
Stringing pearls with French wire, also known as gimp, adds an elegant finishing touch to the design while protecting the thread from wear and tear. Here’s a step-by-step guide on how to string pearls with French wire:
- Gather your materials: You will need pearls, French wire, beading thread or silk thread, a beading needle, and a clasp.
- Cut a piece of beading thread or silk thread to your desired length, making sure it is long enough to accommodate your design.
- Thread the beading needle with the thread and tie a knot at one end, leaving a small tail.
- Slide the French wire onto the thread, creating a loop.
- Begin stringing the pearls onto the thread, passing the needle through the hole of each pearl. Make sure to leave a small space between each pearl for flexibility.
- Once you have strung all the pearls, slide another piece of French wire onto the thread to create a loop at the other end.
- Carefully pass the needle through the loop of French wire and tie it to secure it.
- Trim any excess thread, leaving a small tail.
- Attach the clasp to one end of the string using a jump ring or a beading needle and thread.
- On the other end, attach a jump ring or a beading needle and thread to create a loop for the clasp to connect.
- Finally, secure the knots with a dab of clear nail polish or a small amount of jeweller’s glue to prevent them from coming undone.
Stringing pearls with French wire not only adds a professional look to your design but also provides additional strength and protection to the thread. It’s a wonderful technique to enhance the durability and aesthetic appeal of pearl jewellery.
Showing all 13 results