Have you ever found a stone during a bush walk or a pebble on the beach and just become obsessed with its natural beauty? We certainly have. There’s something enigmatic about how nature creates these forms that can’t be replicated.
If you’ve always admired these forms or have a little collection of beautiful pebbles that are waiting to be used for something, learning how to make stone beads is a great option. It’s a cheap and simple way to transform these beautiful objects into something even more useful and aesthetically pleasing.
Making stone beads only requires a few tools, a little bit of patience and a steady grip. If you want to master this DIY hack, read on!
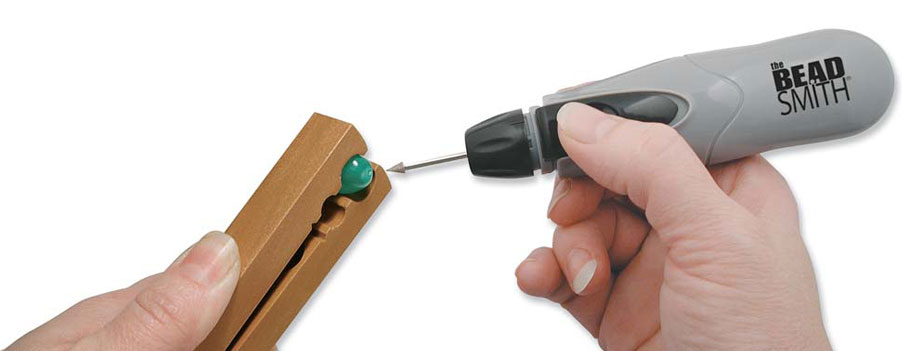
How to make stone beads
Making stone beads requires a drill, so it isn’t a good DIY project for little kids or your first time using a power tool. With some safety goggles and a steady approach, you’ll be rewarded with your very own one-of-a-kind stone beads that can be used for earrings, bracelets, necklaces and any other piece you can imagine!
Stones can crack if you try to brute force them, so make sure to press lightly and take breaks to get the possible result.
What you’ll need:
- Drill or Dremel tool
- Small diamond tip drill bit
- Clamp, vise grip or block of putty
- A pen or pencil
- Safety goggles
- Spray bottle of water
Instructions:
1. Start by assembling your stones, making sure they are clean. Select your diamond drill bits, bearing in mind that the width of the drill bit will define the size of the finished hole in your beads.
2. On each pebble, mark your hole’s entry and exit points. If you want this to be more even, you can fit a rubber band around the width and length of the stone so that the two bands intersect at a middle point. Mark this cross on each side of the stone with your pen or pencil.
3. Place the stone in the vise or clamp, or if you don’t have one of these, wedge the stone very securely in a clump of putty.
4. Spray the marked drill spot with water to stop friction and the drill spot from becoming too hot. You can also place the stone and putty in a plastic container with water covering the pebble.
5. With safety goggles on, hold the drill tip vertically over the marked hole and turn it onto its lowest setting. Gently allow the drill bit to start penetrating the stone. Turn the drill off and check you are happy with the positioning of the hole. Then, continue to drill through the centre of the stone.
6. When you’re about halfway, release the stone, turn it over, and secure it in place again. Continue drilling until you connect with the first hole.
7. Sit back and give yourself a pat on the back — you just learned how to make stone beads!
Bring your beaded creations to life with Beads N Crystals
Now that you’ve mastered making stone beads, you may be itching to turn your beads into a fully formed creation. At Beads N Crystals, you’ll find all the materials, tools and high-quality gemstone beads you need to let your creativity run wild. Shop the collection today, or get in touch with us for more tips and tricks on creating beautiful beading at home.
- How To Identify Czech Glass Beads - March 27, 2023
- How Are Czech Glass Beads Made - March 27, 2023
- How To Make Stone Beads - March 27, 2023


