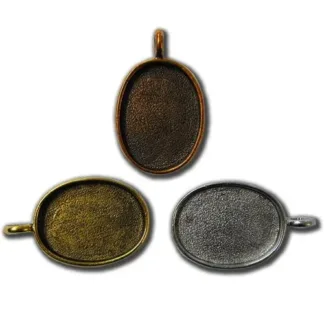
Bezel Settings
Bezel settings are usually made of metal and have a rim or border that holds a gemstone, cabochon, clay or resin piece in place on a piece of jewelry, such as a ring or pendant.
Showing 1–40 of 128 results
-
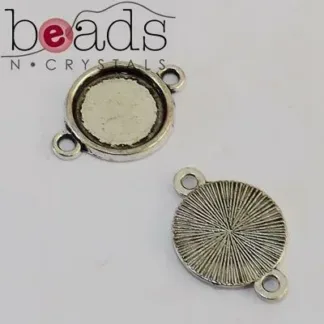
12mm Bezel with Two holes Antique Silver Round
Sale! $0.9045 in stock
-

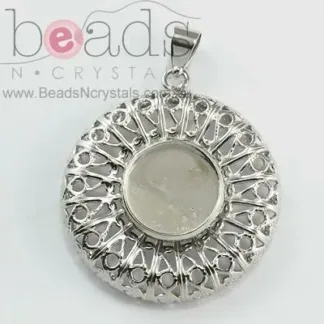
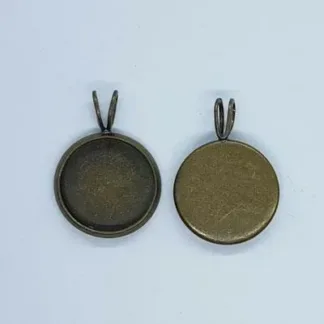
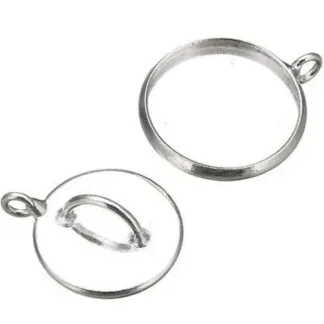
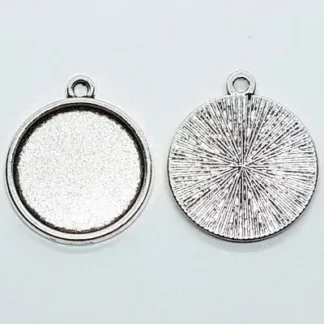
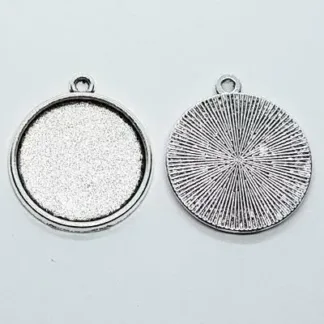
30mm Pendant with 12mm Bezel Antique Silver Round
$2.001 in stock
-


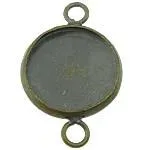
Bezel – Open 18x13mm Filigree Oval Antique Silver
$1.50182 in stock
-

Bezel – Open 22x48mm Connector Antique Silver
$3.5028 in stock
-
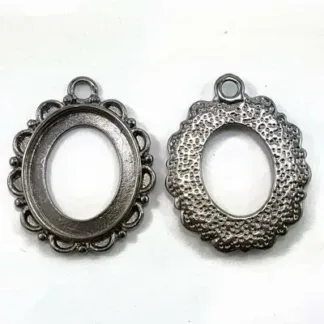
Bezel – Open 28x20mm Filigree Antique Silver
$2.8035 in stock
-
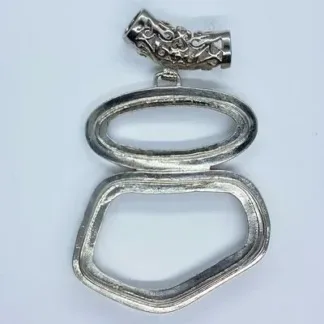
Bezel – Open Back – Assorted Shape 2 Stack – Antique Silver
$5.002 in stock
-
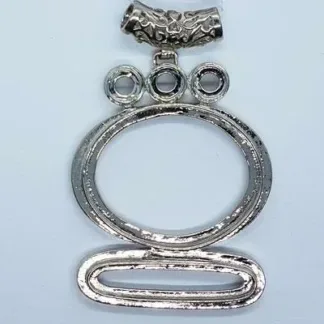
Bezel – Open Back – Assorted Shape 3 Stack – Antique Silver
$5.0012 in stock
-
Bezel 14x20mm Round with 7mm Setting Antique Bronze (LNCF)
$1.8026 in stock
-
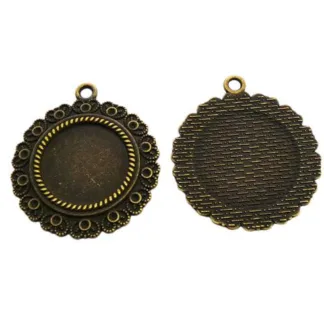
Bezel 34mm Round with 20mm Setting Antique Brass (LNCF)
$2.8034 in stock
-
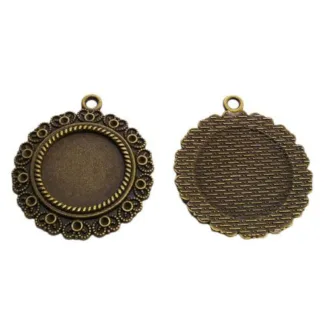
Bezel 34mm Round with 20mm Setting Antique Bronze
$2.80166 in stock
-
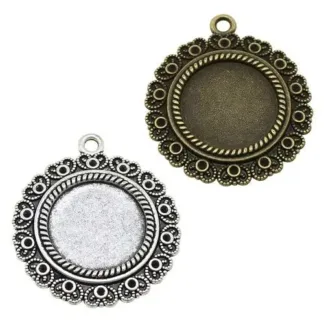
Bezel 34mm Round with 20mm Setting Antique Silver (LNCF) EOL
$2.8062 in stock
-

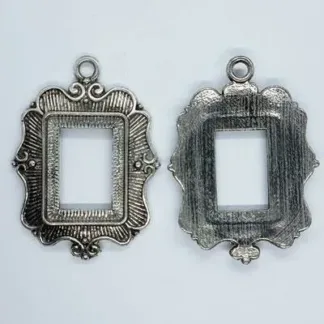
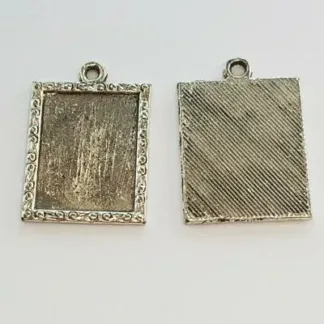
Bezel Cup Setting with Bail 18x29mm Rectangle Antique Gold L,N&C Free
Sale! $1.5079 in stock
-
Bezel Hand Crafted 20×25 Oval Antique Gold
$8.902 in stock
-
Bezel Hand Crafted 43×31 Oval Antique Gold
$9.805 in stock
-
Bezel Link Round 14x22mm Outer, 12mm Inner Antique Copper
$0.90307 in stock
-
Bezel Link Round 8mm with Concealed Loop Gold (LNCF)
$1.8057 in stock
-
Bezel Link Round 8mm with Concealed Loop Silver (LNCF)
$1.8090 in stock
-
Bezel Open Back 18x15mm Gunmetal L&C Free
$3.00188 in stock
-
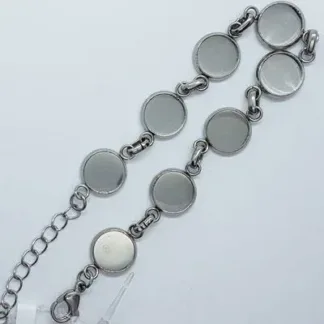
Bezel Setting 10mm Bracelet Antique Silver 22.5cm
$6.001 in stock
-
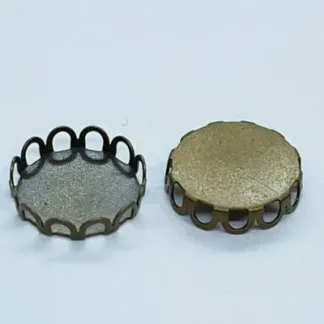
Bezel Setting 12mm Lace Edge Antique Bronze
$0.5063 in stock
-
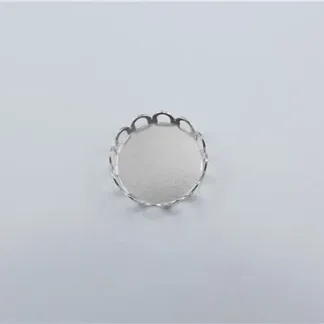
Bezel Setting 12mm Lace Edge Antique Silver
$0.50200 in stock
-

Bezel Setting 12mm Lace Edge Gold
$0.50148 in stock
-
Bezel Setting 12mm Round Antique Silver(NLCF)- each
$2.0023 in stock
-
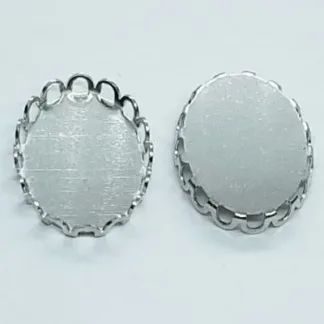
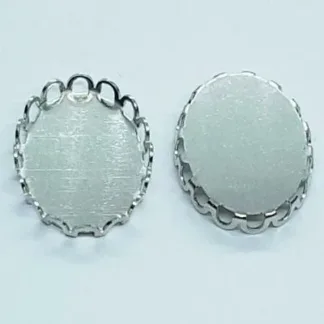
Bezel Setting 13x18mm Antique Silver Oval Frill Edge
$0.8050 in stock
-
Bezel Setting 13x18mm Antique Silver Oval Frill Edge 8pk
$3.3044 in stock
-
Bezel Setting 15x20mm Antique Silver Rectangle
$1.00221 in stock
-
Bezel Setting 18mm Round Antique Silver
$1.00783 in stock
-
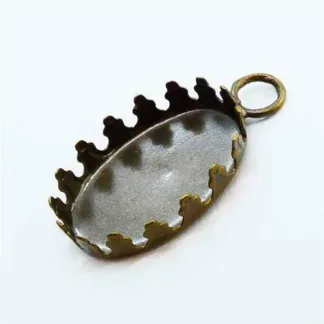
Bezel Setting 18x13mm Oval Bronze Crown Edge
Sale! $0.6029 in stock
-
Bezel Setting 18x22mm Rose Embossed Back Antique Silver (LCF)
$1.80499 in stock
-
Bezel Setting 18x22mm Rose Embossed Back Bright Silver (LCF)
$1.80518 in stock
-
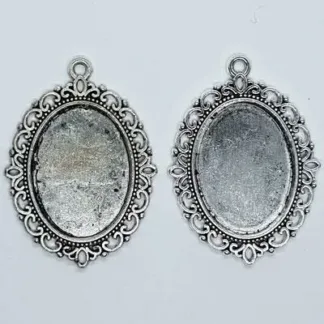
Bezel Setting 18x25mm Oval Antique Silver (LNCF)
$2.00693 in stock
-
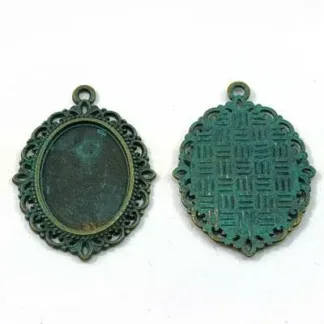
Bezel Setting 18x25mm Oval Green Patina Antique (LNCF)
$2.80328 in stock
-
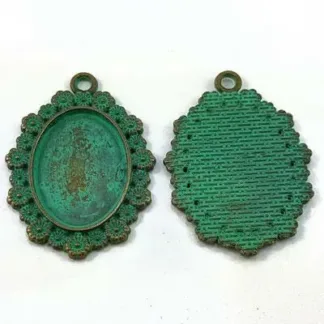
Bezel Setting 18x25mm Oval Green Patina Daisy (LNCF)
$2.80238 in stock
-
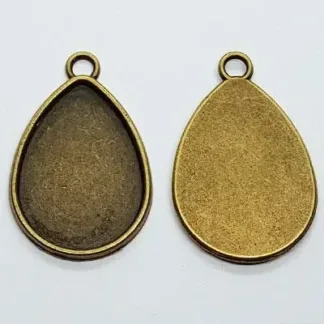
Bezel Setting 18x25mm Teardrop Antique Brass
$1.60159 in stock
-
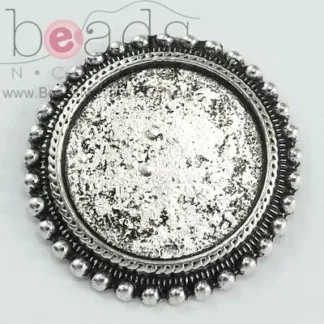
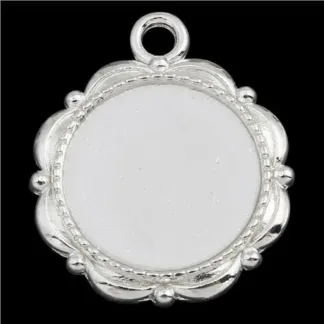
Bezel Setting 20mm Antique Silver Dotty Edge – Round
$1.4042 in stock
-
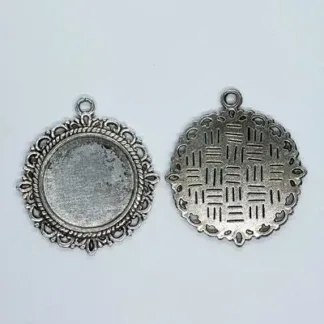
Bezel Setting 20mm Antique Silver Filigree Edge
$2.0059 in stock
-
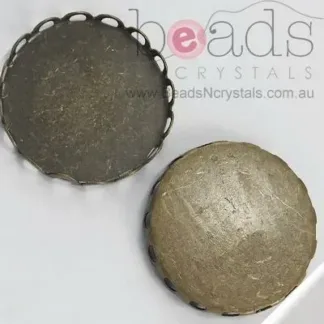
Bezel Setting 20mm Lace Edge Antique Bronze
Sale! $0.606 in stock
-
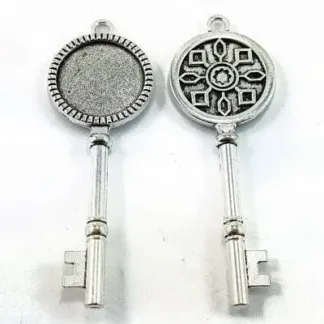
Bezel Setting 20mm Round Antique Silver Key 7cm (LNCF)
$2.5069 in stock
-
Bezel Setting 20mm Round Antique Silver
$1.20439 in stock
-
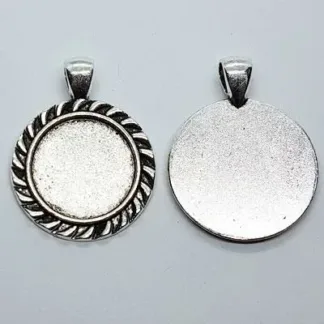
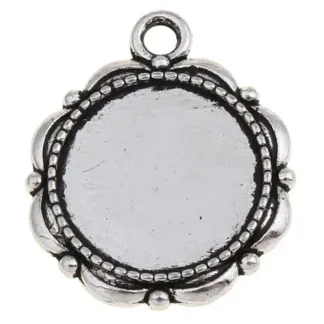
Bezel Setting 20mm Round Antique Silver Sun
$1.50122 in stock
Bezel settings are metal rims that surround and securely hold gemstones in jewellery. They provide protection, support, and a sleek aesthetic. Bezels can be made from various metals and customized to fit different stone shapes and sizes. They offer advantages such as excellent stone protection, secure hold, and design versatility. Bezels are widely used in rings, pendants, earrings, and bracelets, and they allow for various setting techniques and design possibilities.
What is a Bezel Setting?
A bezel setting is a type of setting used in jewellery-making to secure a gemstone or other decorative element in place. It is a metal frame that surrounds the stone, holding it securely in place while also providing protection from damage. They are also used to contain resin or polymer clay when making pendants, links and charms.
Bezel settings come in a variety of shapes, sizes, and styles, ranging from simple and understated to intricate and ornate. They can be made from a variety of metals, including brass, metal alloys, stainless steel, iron and copper, and can be plated in a range of colours such as gold, silver, antique silver, copper brass and bronze.
Bezel settings are particularly popular for use with cabochon gemstones, which have a flat base and a smooth, rounded top. The bezel frame surrounds the entire stone, holding it securely in place while also providing a smooth, seamless look. Bezel settings also work well for holding glass cabochons and glass tiles.
One advantage of using a bezel setting is that it provides greater protection for the stone than other types of settings. The metal frame completely surrounds the stone or cabochon, protecting it from scratches, chips, and other types of damage. Bezel settings also offer a more secure hold on the stone, reducing the risk of the stone becoming loose or falling out.
Bezel settings are a versatile and popular choice for jewellery-making. Whether used to secure a single stone or to create an elaborate design, bezel settings offer both practical benefits and aesthetic appeal.
Crafting with bezels can add a touch of elegance and creativity to various projects, including glass tiles, resin, and polymer clay crafts. Here’s a step-by-step guide on how to use bezels in these crafts:
Using Bezels with Glass Tiles:
Glass tiles may be purchased with an image or as a clear tile. If you have a clear tile, you’ll need to decorate the flat side of the tile first. This can be done with Japanese papers, fabric, a photo of a loved one or pet, or any other image or artwork of your choice.
Apply the image, paper or fabric to the flat side of the glass tile using a dimensional adhesive such as Diamond Glaze or 3D Crystal Lacquer. Once the image is set, proceed with the steps below.
- Choose your bezel: Select a bezel that matches the size and shape of your glass tile.
- Prepare the tile: Clean the glass tile thoroughly and make sure it is dry before starting the crafting process.
- Adhere the bezel: Apply a thin layer of E6000 adhesive or 3D Crystal Lacquer to the back of the glass tile. Carefully place the bezel onto the adhesive, ensuring it is cantered and aligned.
- Press and secure: Gently press the bezel onto the glass tile, making sure it is firmly attached and there are no air bubbles. Use a clean cloth or your fingertips to remove any excess adhesive from around the edges.
- Let it cure: Allow the adhesive to cure according to the manufacturer’s instructions. This typically involves letting it dry overnight or for several days.
- Finishing touches: Once the bezel is completely dry and secure, you can use the glass tiled bezel in various projects, such as jewellery, art, a decorative wall hanging, or as an accent in mixed media crafts.
Using Bezels with Resin Crafts:
Bezels are perfect for creating unique drops, charms and pendants using UV or 2-part epoxy resin. The benefit of resin over glass tiles is that you have the option to insert physical objects like charms or even coffee beans. You can also use alcohol inks and pigment powders to create 3D or layered effects.
- Prepare the bezel: Choose a bezel that suits your resin craft project and ensure it is clean and dry.
- Mix the resin: Follow the instructions provided with your resin kit to mix the resin and catalyst thoroughly. Add dyes or pigment powders if you wish.
- Pour the resin: Carefully pour the mixed resin into the bezel, filling it to the desired level. Avoid overfilling, however you can add enough resin to create a domed effect.
- Remove bubbles: Use a heat gun, flame or a toothpick to remove any air bubbles that may have formed in the resin. You can gently pass the heat gun or flame over the resin or use the toothpick to push the bubbles to the surface and pop them.
- Cure the resin: Place the bezel with the resin in a dust-free and level area. Allow it to cure according to the resin manufacturer’s instructions. This may involve leaving it undisturbed for several hours or overnight.
- Finishing touches: Once the resin is fully cured and hardened, you can incorporate the bezel into various resin crafts, such as jewellery, paperweights, coasters, or decorative art pieces.
Using Bezels with Polymer Clay:
Crafting with polymer clay is a fun and relaxing craft with a world of possibilities. You can create polymer clay works of art directly into the bezel and bake them in place, providing you are using a metal bezel setting.
- Choose a bezel: Select a bezel that complements your polymer clay design in terms of size and shape. Ensure the bezel is metal if you plan to bake the clay in-place. Wood or plastic bezels can be used provided you hake the clay and glue it into the bezel once the clay piece cools.
- Create your polymer clay design: Sculpt or shape your polymer clay according to your desired design, making sure it fits within the dimensions of the bezel.
- Bake the polymer clay: Follow the manufacturer’s instructions to properly bake and cure your polymer clay design. You may bake in the setting where a metal bezel is selected. Ensure it is completely hardened and cooled before proceeding.
- Attach the clay to the bezel: If the clay is not baked in place, apply a small amount of strong adhesive (we recommend E6000 Clear) to the back of the polymer clay piece. Carefully place it into the bezel, making sure it is cantered and pressed firmly to create a secure bond.
- Let it dry: Allow the adhesive or glue to dry completely, ensuring a strong attachment between the polymer clay and the bezel.
- Finishing touches: Once the clay is securely attached to the bezel, you can incorporate it into various polymer clay crafts, such as pendants, brooches, keychains, or decorative embellishments for mixed media projects.
Remember to follow the specific instructions and safety guidelines provided by the manufacturers of the bezels, adhesives, resins, and polymer clay products you use. Enjoy the process of crafting with bezels and let your creativity shine in your glass tile, resin, and polymer clay creations!
Where to buy Bezel Settings in Australia
Beads N Crystals is a reputable online bead and crystal shop with a bead store based in Australia that offers a wide range of jewellery-making supplies, including bezel settings. We provide an extensive selection of bezel settings in various sizes, shapes, and materials, allowing you to find the perfect fit for your jewellery projects.
To purchase bezel settings from Beads N Crystals, you can visit our website and browse through our catalogue. Take advantage of their user-friendly interface and detailed product descriptions to find the specific bezel settings that suit your needs. Alternatively, our bead shop in Brisbane is open and waiting for your visit.
Showing 1–40 of 128 results